🖨️ Print a QR label
- Printer
- Brother P-touch CUBE Plus, PT-P710BT (white)
- Tape
- TZe-251, 24 mm (1 in), black on white
- Phone app
- Brother P-touch Design&Print 2
- Connection
- Bluetooth only, one phone at a time
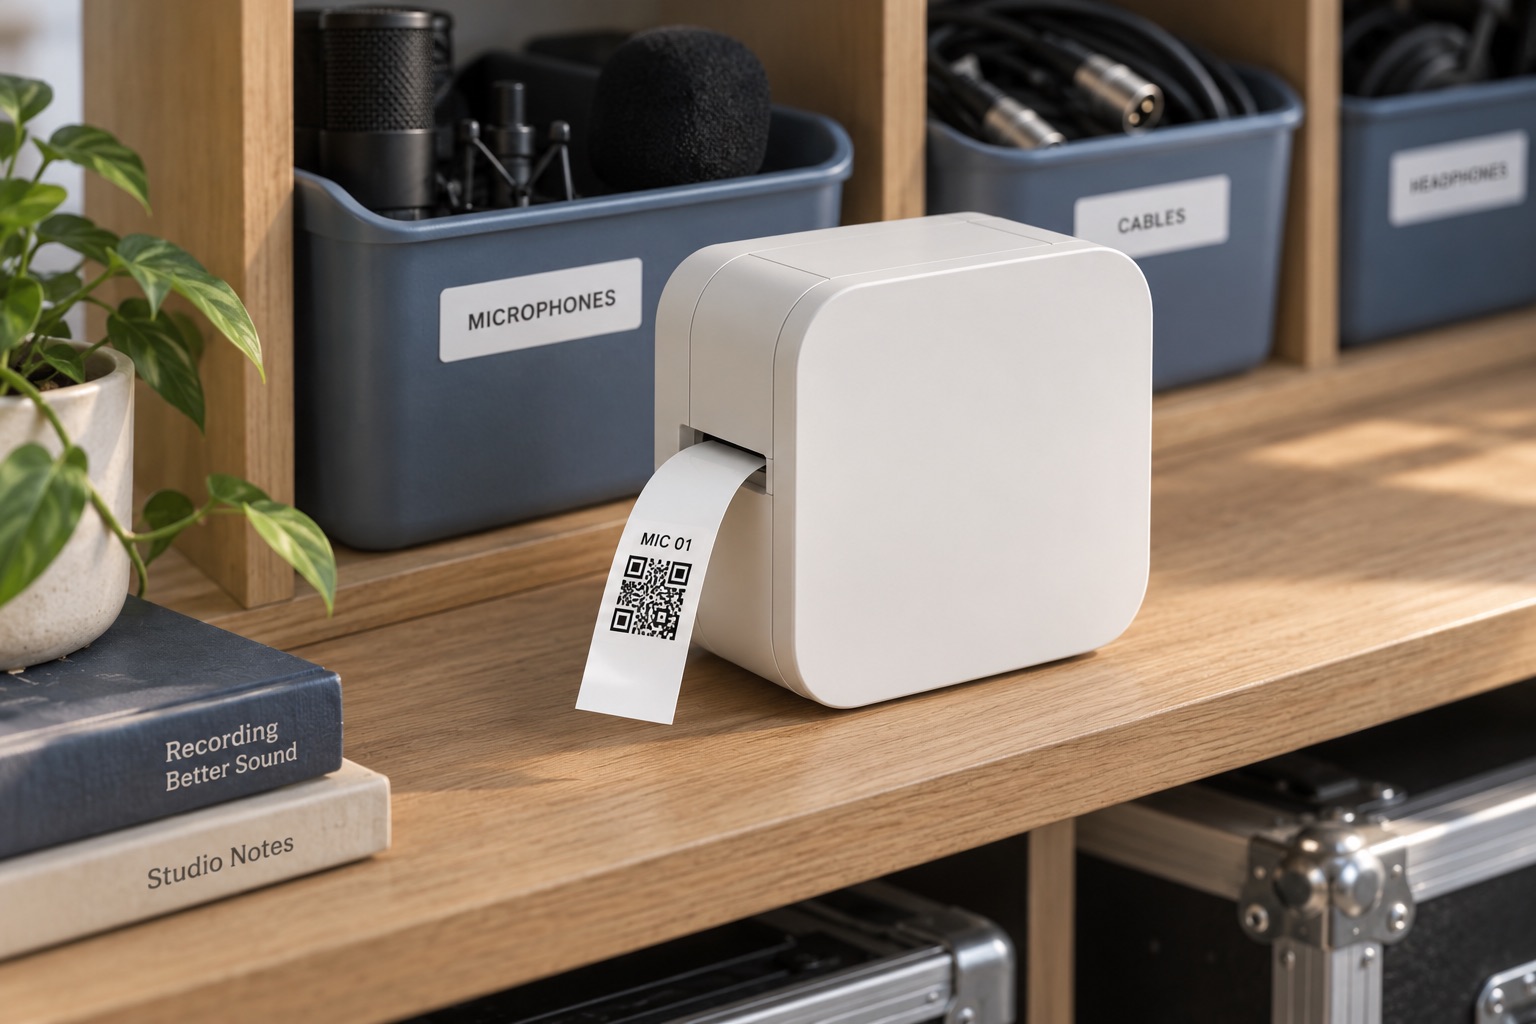
1. Pair your phone (first time only)
- Install Brother P-touch Design&Print 2 from the App Store.
- Press Power on the printer.
- On your phone open Settings > Bluetooth and turn it on.
- Tap
PT-P710BT****. The four stars are the last four digits of the printer's serial number. - Asked for a PIN? Type
0000. - Open Design&Print 2. On first run, tap Connect Now.
- Not first run? Tap the Confirm your P-touch connection / Please select your P-touch message at the top right of the editing screen and pick the printer.
Where is the serial number?
Inside the cassette cover, under the tape. It is also on the sticker below the Power button.
2. Save the label to your phone
- New item: after Create Item, tap Download Label (several items: Download All Labels).
- Existing item: reprint it from the item panel.
- The phone's share sheet opens. Tap Save Image so the label lands in Photos.
3. Print it
- Check the 24 mm TZe-251 cassette is in and the cover is closed.
- In Design&Print 2, start a new label with Create your own label.
- Tap the image tool and pick the label from Photos.
- Drag the image corners until it fills the image box. The printed square comes out about 0.7 in wide; the blank margins are normal.
- Tap Print.
- The printer cuts the label itself. Last label still attached? Press Power twice to cut it.
- In Stuff, tap Scan and scan the new label. The item's panel should open.
4. Stick it on
- Square label (prints about 0.7 in square): flat on the item where the camera can reach it.
- Cable label (prints about 2.6 x 0.7 in, two QR codes): wrap it around the cable near one end as a flag, so either side scans.
- Shelf or bin label: on the shelf edge or the bin front. See Locations.
Printer not found or not printing
- Printer asleep? Press Power.
- Only one phone can be connected. Someone else's phone probably has it: ask them to turn Bluetooth off, or turn the printer off and on.
- Phone Bluetooth on, phone awake, phone close to the printer.
- Printer selected in Design&Print 2.
- Tape cassette seated, not empty, cover closed.
- Battery low? Charge it with the included USB cable.
- Wrong tape size on screen? In Design&Print 2 open Print Settings and tap Check media.
- Still stuck: Brother pairing help or the PT-P710BT user guide (PDF).
What is printed on a Stuff label
- "The Recording Club" across the top, the QR code, and the item code at the bottom, for example
MIC01. - The item name is not printed.
- The QR holds
I:plus the code for items,L:for locations,SL:for bins and shelf spots.
Ignore Profile > Print Labels
That page opens a browser print sheet sized for a DYMO LabelWriter. TRC has no DYMO. Use Download Label and the P-touch instead.
Fallback app: Brother iPrint&Label
Brother iPrint&Label also prints to this printer. Use it only if Design&Print 2 will not work.
➕ Add a new item
Manager Admin Staff: hand the new item to your shift lead with a note.
- On Home, tap Add Item. The Add New Item drawer opens.
- Pick the Facility Area, for example Storage A.
- Pick the Location, for example Storage A - 02. It needs an area first.
- Pick the Sublocation (the bin) if there is one. No sublocations available means there are none.
- Type the Item Name as make and model.
- Pick a Category.
- Description is optional.
- Set Quantity, 1 to 100. Each item gets its own code.
- Tap Create Item.
- In Print Label, tap Download Label. Then print it.
How item codes work
Category prefix plus a 2-digit number that never resets, for example MIC01.
No category fits (admin only)
- Tap the + beside Category. Create Category opens.
- Fill Category Name and Code Prefix (uppercase, 10 characters max).
- Pick Label Format: Cable (3.5") for cables, Square (0.93") for everything else.
A manager sees Admin access required. Ask an admin.
Adding several at once
With Quantity above 1, the dialog is Print Labels with Download All Labels.
📤 Check out
Check out anything that leaves its shelf, even for one session.
- Tap Scan in the bottom bar.
- Point the camera at the item's QR label. Its panel opens.
- Tap Check Out Item.
- Wait for Item checked out successfully.
Camera will not read the label
- On Scan, tap the box Type a code, e.g. MIC01.
- Type the code printed on the label.
- Tap the arrow.
Or from Home: Checkout, then Scan QR Code or Type code instead.
📥 Return
The bin scan proves the item is back where it belongs.
- Carry the item to its home bin and put it in.
- Tap Scan and scan the item.
- Tap Return to Different Location.
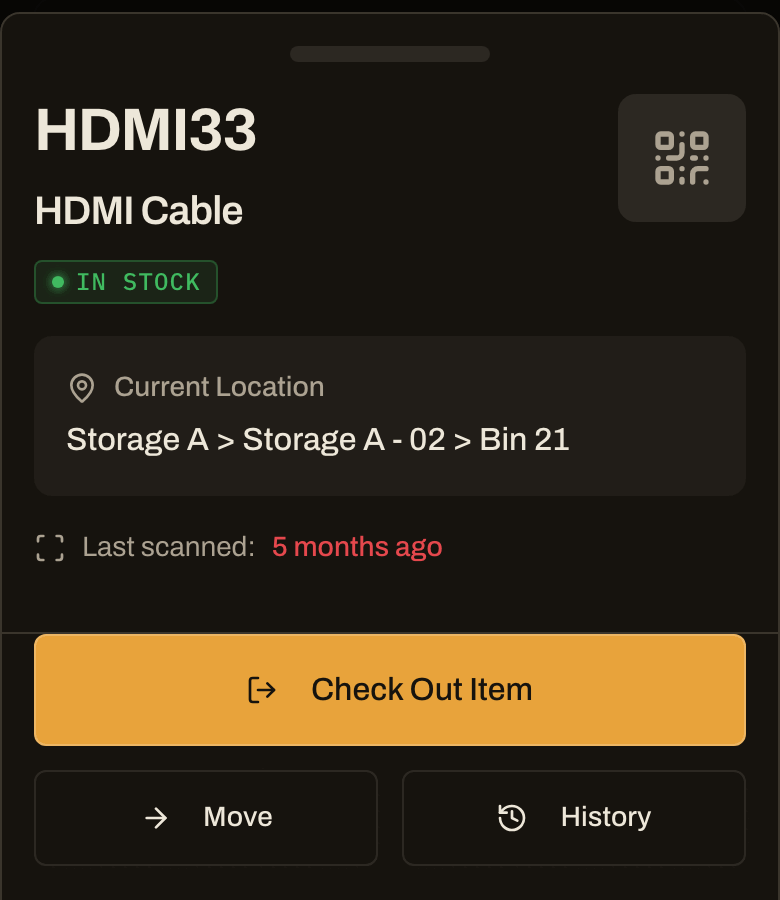
- On Scan Return Location, scan the bin's QR.
- Check the Location Selected card.
- Tap Confirm Return.
- Wait for Item returned successfully.
Why "Different Location" when it goes home?
It is the button that makes you scan the bin. The others skip that scan.
Shortcuts that skip the bin scan
- Return to Original Location in the item panel.
- The quick Return on each row of Checked Out. Its toast has Undo.
Use them only with the item already on its home shelf. Some screens say Check In Item.
↔️ Move one item
Use Move when an item gets a new permanent home.
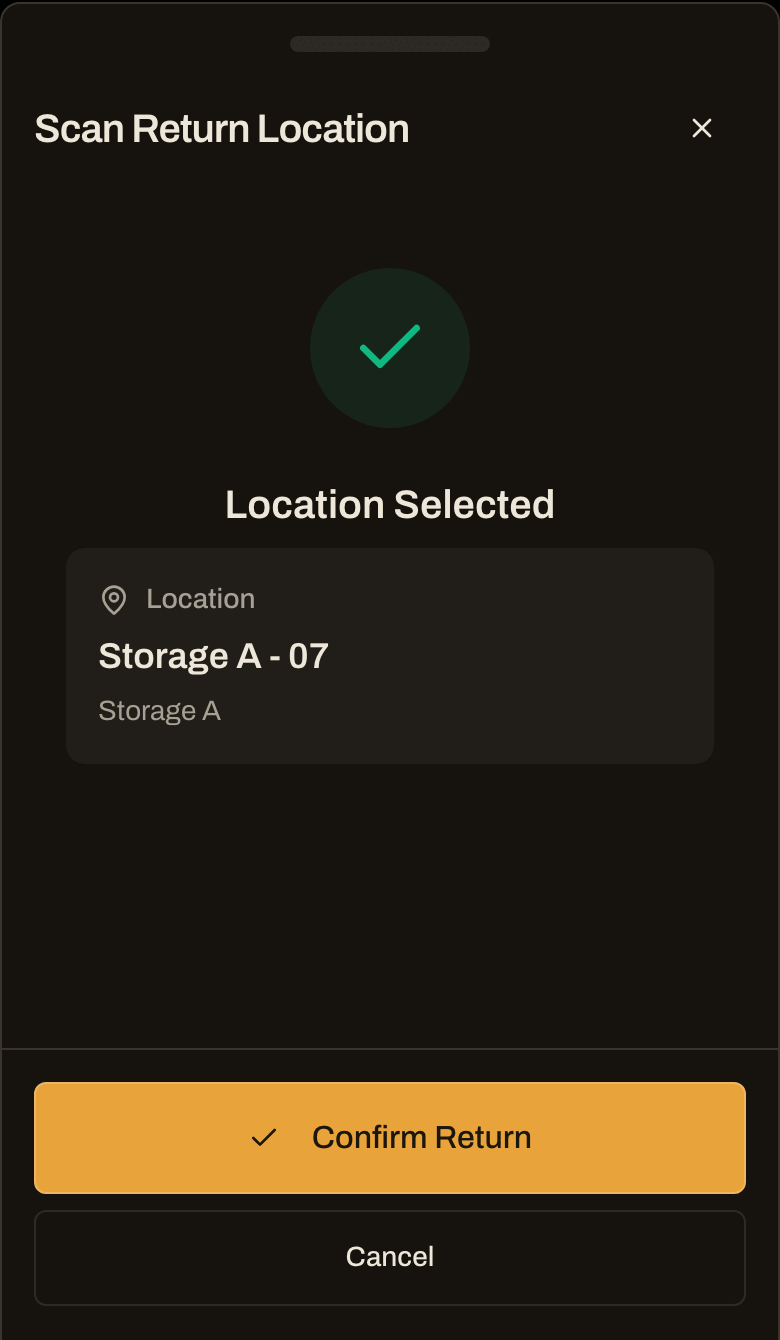
- Scan or search the item to open its panel.
- Tap Move.
- Type in Search any place… or tap a location under Pick an area.
- Tap Put it in <location>, or tap a specific bin or spot.
- Or tap Scan a location label and scan the shelf.
- The toast says Moved <code>. Undo stays for 8 seconds.
📦 Batch Move
Many shelved items going to one place.
- On Home, tap Batch Move.
- Tap Select Destination and pick from the list, or scan a location label.
- Scan the items one after another.
⏰ Checked Out list
- On Home, tap Checked Out.
- Filter with the chips: All, Overdue, or one chip per person.
- Each row has a quick Return, with Undo in its toast.
🔍 Find an item
- Tap Search in the bottom bar.
- Type the name, code, or category.
- Read the location on the card: area, shelf, bin.
- Walk there and take it. Then check it out.
Path cut short on a phone? Tap the card to read all of it.
See everything on a shelf or in a bin
Tap Scan and scan the shelf or bin label. A shelf opens Items at <name>. A bin opens Items in <name>.
The item panel
- Move and History are always there.
- Manager Admin also get the pencil (edit Name, Make, Model, Description) and Remove Item.
- Last scanned turns amber after 14 days and red after 30.
Inventory tile (any staff)
A table of Code, Name, Location, Status, Last Inventoried and Inventoried By, with Scan to Inventory.
Any lookup by code, anywhere in Stuff, counts as an inventory scan.
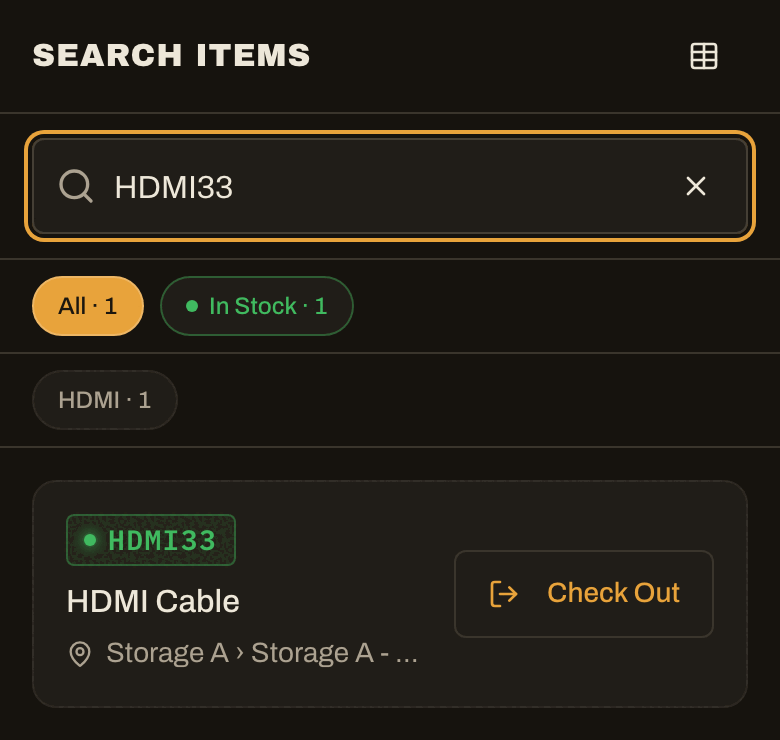
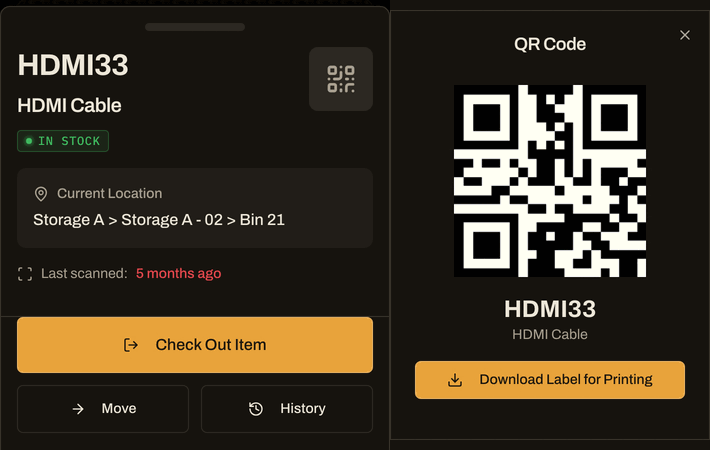
HDMI33. Full path: Storage A > Storage A - 02 > Bin 21.🏷️ Label missing
Item is in Stuff, label gone
- Tap Search and open the item.
- Tap the QR square at the top right of the panel.
- Tap Download Label for Printing.
- Print it and stick it on.
- Until then, check it out by typing its code.
Item is not in Stuff at all
Do not take it out untracked. Give it to a manager to add.
Shelf or bin has no QR
Return with Search by name instead, then tell a manager the spot needs a label.
📍 Locations and their labels
- Tap Locations in the bottom bar.
- Open the location, or the bin under it.
- Tap Download Label.
- Print it the same way as an item label.
- Stick it on the shelf edge or the bin front.
| Button | What it adds | Who |
|---|---|---|
| Add Area | A room, like Storage A (opens the Add Facility Area form) | Manager, admin |
| Add Location | A shelf, with a name and a code like LR-A-01 | Admin |
| Add Sublocation | A bin or shelf spot | Manager, admin |
Which labels the Scan screen reads
Labels starting I:, L:, SL:, and the older ITEM:, LOC:, SUBLOC:.
🗓️ Monthly count, on the 1st
Steven is accountable. Anything missing goes to Greg.
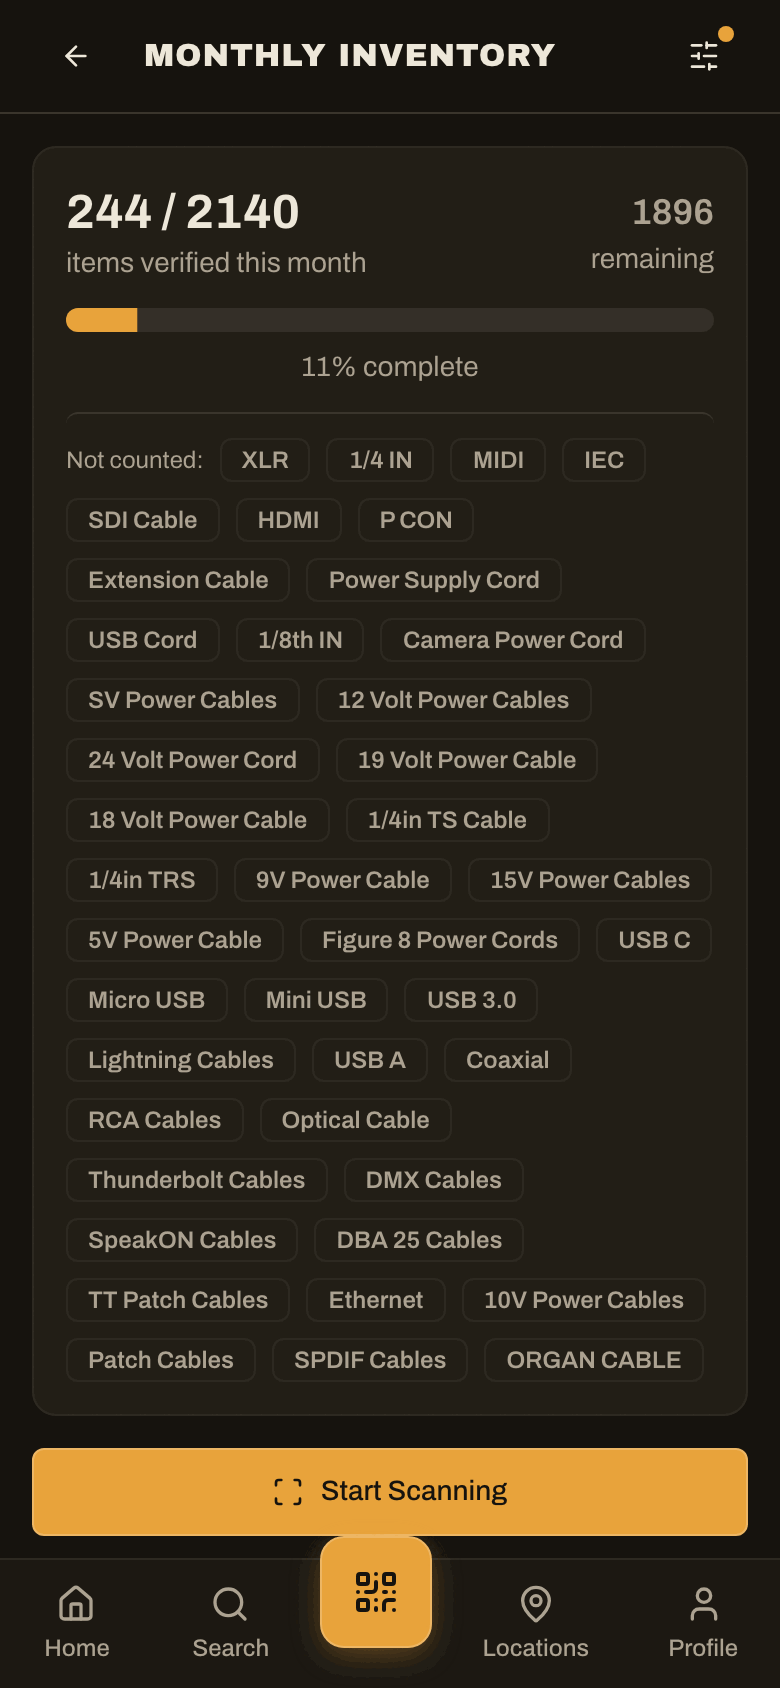
- Open Monthly Inventory. There is no Home tile.
- Read items verified this month and remaining.
- Tap Start Scanning.
- Scan an item or type its code.
- Verify Item shows Expected location:.
- It is there: tap Confirm Location.
- It is elsewhere: tap Item Moved - Update Location, then Select New Location, then Save & Continue.
- Repeat until remaining is zero, then tap Done Scanning.
- Send Steven a list of every item you could not find.
Details
- Select New Location lists locations only. To put the item in a bin, use Move afterwards.
- Verified means scanned since the 1st.
- The Inventory Filters sheet marks categories Counted monthly or Skipped monthly.
Tuesday par walk
Every Tuesday Taji counts supplies against the Order Sheet and orders the same day. Steven is backup.
- Supplies are counted in the TRC Staff app Supplies tab (admin view: admin inventory), not in Stuff.
- Take supplies from their labeled shelf level only.
- Took the last of something? Tell Taji or the shift lead that day.
🗺️ Storage A and B
Storage A rules
- Put it back where the QR says, not where there is room.
- One cable type per bin. A stray cable in the wrong bin is lost.
- Scan the bin on every return.
Storage A map: gear, every shelf and bin has a QR
| Wall | Shelves | What lives there |
|---|---|---|
| Front | 1 to 3 | All cables and computer gear. Bins 1 to 38, one cable type per bin. The 40" Fire TV, monitors, mice and keyboards. |
| Left | 4 to 9 | Audio and music: studio monitors, amps, wireless systems, interfaces, IEMs, keyboards, pedals, mixers. Bins 39 to 41: music stand heads, legs, mic stands. |
| Back | 10 to 15 | Lighting: fixtures, haze fluid, haze machine, sandbags, TV mounts, soft boxes. Bins 42 to 47. |
| Right | 16 to 21 | Cameras and supplies: ATEM switchers, cameras and lenses, tripods, SDI gear, printers, office supplies. Bins 48 to 55. |
Cable bins used most (front wall, shelf 2)
| Bin | Contents | Bin | Contents |
|---|---|---|---|
| 6 | USB C | 21 | HDMI |
| 11 | 1/8" aux | 27 | MIDI DIN |
| 14 | IEC | 29 | XLR |
| 18, 19 | SDI | 32 | TT patch cables |
Storage B rules
- Black chairs of one type stay together.
- Supplies go back on their own shelf level.
- Nothing new gets parked in the back hallway.
Storage B map: event items and supplies
Supplies here are named by location, not counted one by one in Stuff.
| Spot | What lives there |
|---|---|
| Right wall | White folding chairs stacked. Black folding chairs standing by type against the back wall. Round cushions stacked. Yoga mats rolled in the white bin by the AC duct. |
| Middle shelf, top | Sprays, bottles, wipes: hand soap refill, Windex, multipurpose spray, lotion, Lysol wipes, tissues. |
| Middle shelf, top-middle | Swiffer pads, magic erasers, dishwasher pods, laundry detergent, Roborock bags and solution, masks, earplugs. |
| Middle shelf, bottom-middle | Trash bags, gallon and quart bags, coffee cups, lids, sleeves. |
| Bottom shelf and floor | Extra utensils, TRC glass bottles, toilet paper, paper towels. |
| Back hallway | Folding tables, the table-tennis top for the pool table, blankets on the top shelf. |
| Back wall | AG1 items, extra concierge desk, Shabbat box, storage boxes, tote bags, paint, traffic cones, banners. |
👤 Account and roles
- Open Stuff on your phone.
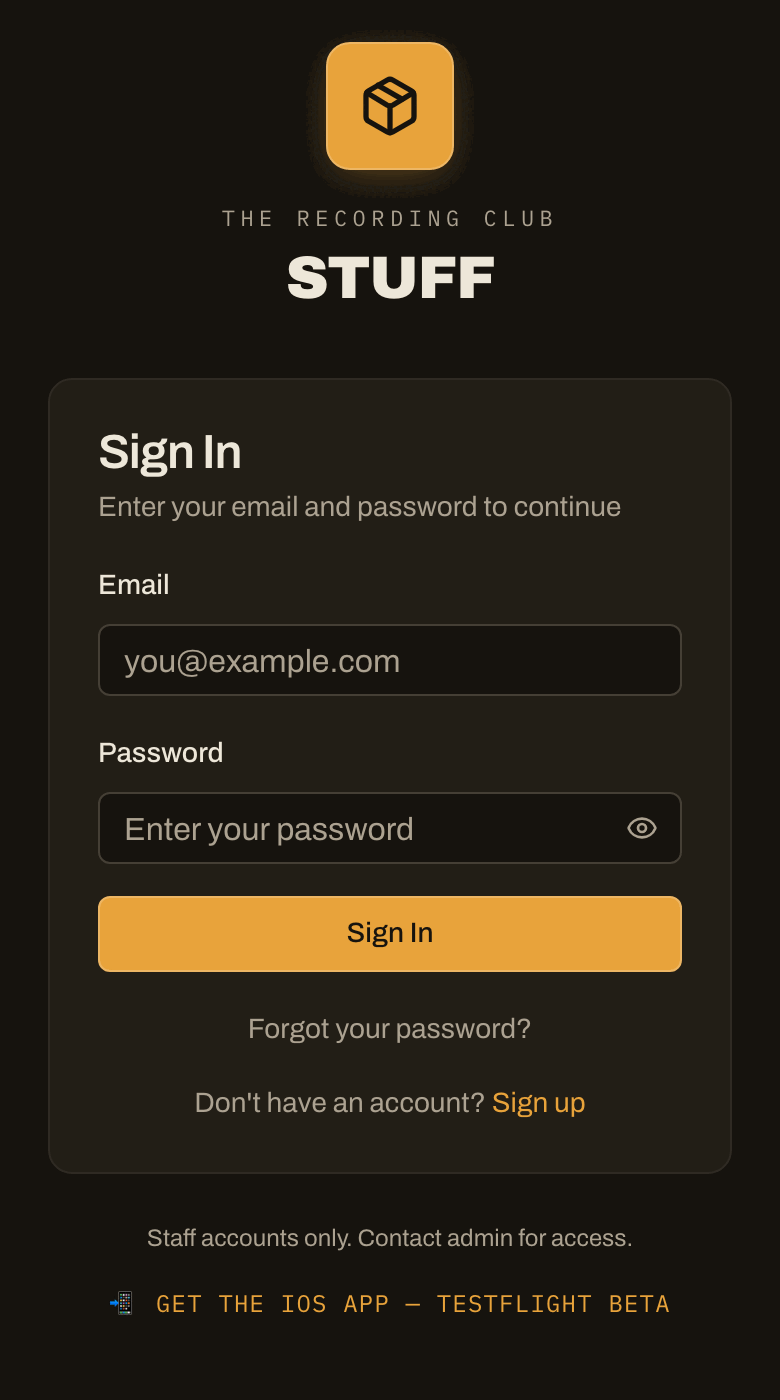
- Under Sign In, tap Don't have an account? Sign up.
- Fill First Name, Last Name, Email, Password (6 or more characters).
- Tap Create Account.
- Tell your shift lead the email you used.
iPhone app: TRC Stuff on TestFlight. The website does the same job.
Every new account starts as staff. An admin changes roles in Profile > Admin Tools > Manage Users.
| Role | Can do |
|---|---|
| Staff | Search, scan, check out, return, Move, Batch Move, Inventory, monthly count |
| Manager | Staff, plus Add Item, Add Area, Add Sublocation, edit and remove items. Profile > Manager Tools: Inventory View, Order Sheet, Manage Items, Print Labels, Smart Import (AI), Basic Import |
| Admin | Manager, plus Add Location, create a Category, Manage Categories, Manage Locations, Manage Users, Backup & Export |
Find your way around the app
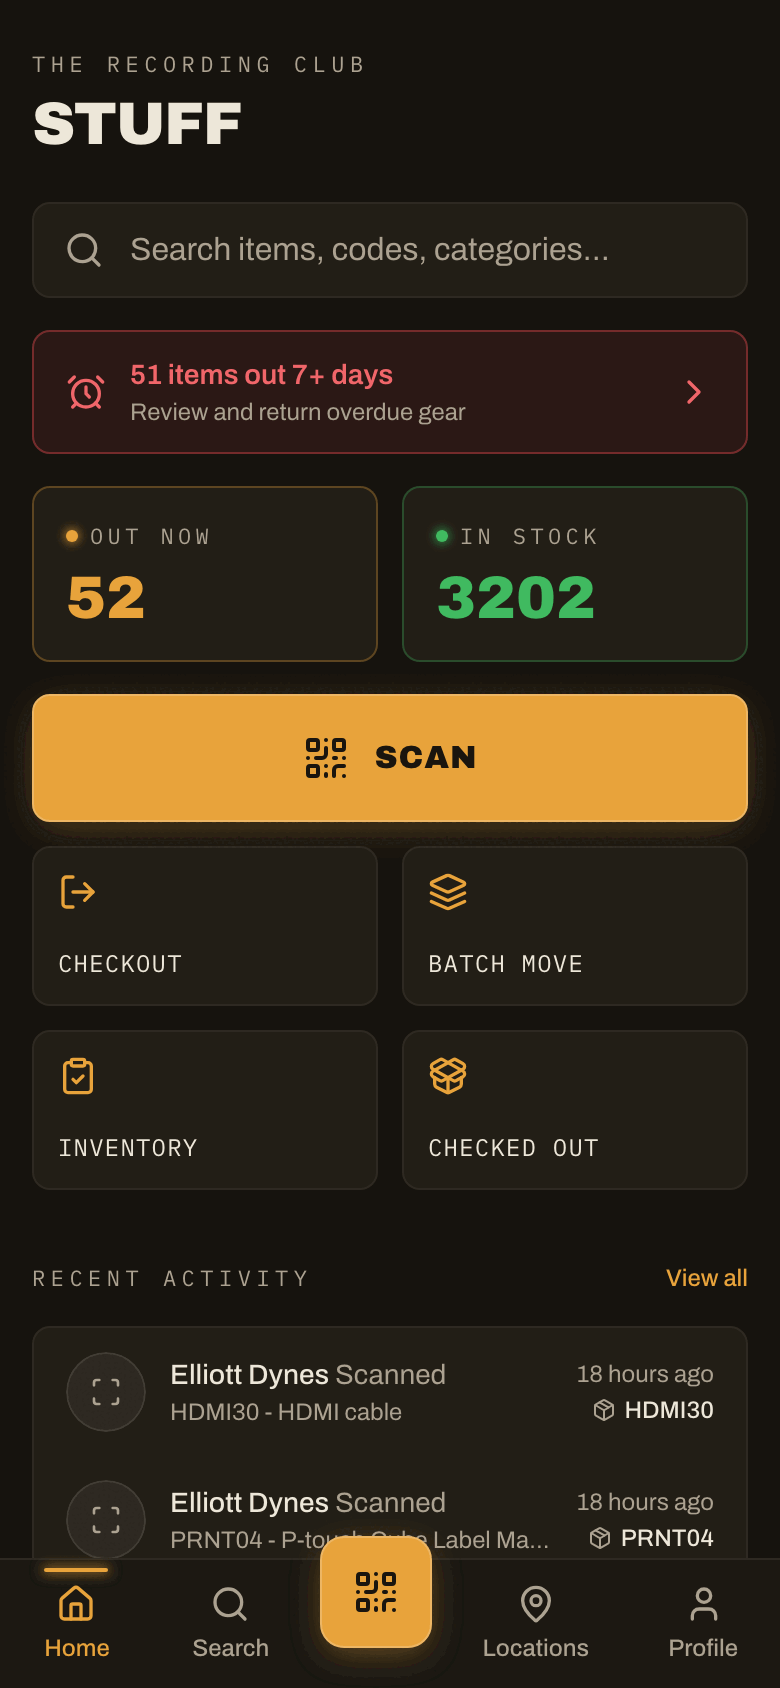
- Bottom bar: Home, Search, Scan, Locations, Profile.
- Home tiles: Scan, Checkout, Batch Move, Inventory, Checked Out, and Add Item for managers and admins.
⚠️ The 5 mistakes
- Eyeballing the shelves. Search first.
- Putting it back where there is room. Put it where the QR says.
- Taking without checking out. Stuff still says it is on the shelf.
- Returning without scanning the shelf. Return to Original Location and the Checked Out Return skip the scan.
- Using the old spreadsheet. "The Recording Club Inventory (OUT OF USE).xlsx" is dead. Stuff is the only inventory.
📚 All the other docs
Training modules
- M01 TRC Stuff: the inventory system
- M02 Setting up an event livestream
- M03 Live Room: Zoom + stream + LED wall
- M04 In-house event feeds
- M05 Podcast Room: record, switch, stream
- M06 The Mevo camera kit
- M07 Piano & Wine night: audio and video
- M08 Opening, midday and closing checklists
- M09 The TRC Staff app: sign in, clock, walkie
- M10 The Studio Assistant program
- M11 Onboarding a Studio Assistant
- M12 Feedback, catches and reporting faults
- M13 The Library and Ask TRC
- M14 Front desk and member check-in
- M15 Bookings and sessions
- M16 The audio rooms
- M17 Rehearsal Room mode
- M18 Live Room lighting
- M19 Lounge TV and audio
- M20 Events: running the night
- M21 Client file delivery
- M22 Offsite pack and load back
- M23 Session files to Dropbox
- M24 Coffee
- M25 Honor bar and cash handling
- M26 Member lockers
- M27 Security, locking up and the alarm
- M28 Electrical and power-down order
- M29 Emergency, first aid and evacuation
- M30 Wi-Fi and network
- M31 Cleaning and post-event reset
- M32 Time off, scheduling and the employee manual
- M33 Manager duties
- M34 Systems index
Printer
- Brother P-touch Design&Print 2 (App Store)
- Brother iPrint&Label (App Store, fallback)
- Brother pairing help for Design&Print 2
- PT-P710BT user guide (PDF)